What is bootanimation, how to create? Make your own Magisk Module Bootanimation now, my 200th post.
Welcome to my 200th post. Today's topic is how to flash boot animation on your phone. How to create a boot animation and apply to all rooted devices.
Boot animation
If you have an iPhone or a Xiaomi device, when you turn it on, a text appears on the display, it could be something like Mi or Apple. This is called the boot logo, which means that the first thing that catches our eye when we open the phone is the boot logo. Within 2-3 seconds of this boot logo, your boot animation is turned on, the old Samsung phone could be seen with the animation written by Samsung and it would glow a bit, different animations can be seen on each device, especially the custom ROM animations are very exciting. If you see a sample below, you will understand what I am talking about!
Can it be made on the phone?
I used to think that it would take a lot of coding to know these things. For fear of this, I would collect and install man-made animations, but one day I decided to create my own boot animation and that's what I thought. When I went to make it, I found out that there is nothing easier than this. Although all the tutorials I have seen are done on PC. But I'm not comfortable with PC so I kept looking for ways to do it with Android. After much deliberation, I came up with a way and after working, I saw that the animation was not being installed. After failing 5-6 times, I understood where my problem was and how to fix it. I will show you step by step and you will know everything about how to do it. This post is going to be very big so I wish you patience.
What do you need?
First of all let me say that animation is just a video. If you take a 1 second video and extract it, you will find (24/30/60) inside it. In other words, the number of frames in which it is recorded is taken every second When we start the video, the images float on the screen according to the serial 1, 2, 3 and so every second (24/30/60) we are shown so many images. This is how the video mechanism works and so on. This is how all the cartoon animations are made. Now what do we need to create boot animation? Pictures or videos? In fact, it takes both. I will not discuss this in more detail in this post, I will make a separate post about all that has happened. Kinemaster is the best for animation on Android phones and if you want to create something in the form of text you will needPixle Lab, Picsart etc. You need to extract the video to the image and you need a Zipper-Unzipper. I have given the link of everything. Let's start at the very beginning.
Procedure
- Create your animation at the very beginning. I will not teach it in today's post, it is a completely different topic. If you can't, you can download a 5-10 second video clip from YouTube or anywhere else to test. Small is better.
- Boot animation has 2 parts. The first part is the animation, as the Samsung text travels around the world, and the second part is a loop. That means it will continue to play again and again until you open your phone You can see it until you open your phone. If the part of the loop is small, it looks beautiful like 1-2 seconds because it will continue repeatedly and the previous part will only start the first time. So if you have any favorite animation or video, divide it into 2 parts. The first is 5-10 seconds and the second part is 1-2 seconds.

- There is no need to be boot animation 2 part. It can be 3 parts or more as you wish but in that case you have to decide its value i.e. when a part will show, how long it will show, how many times it will show etc.
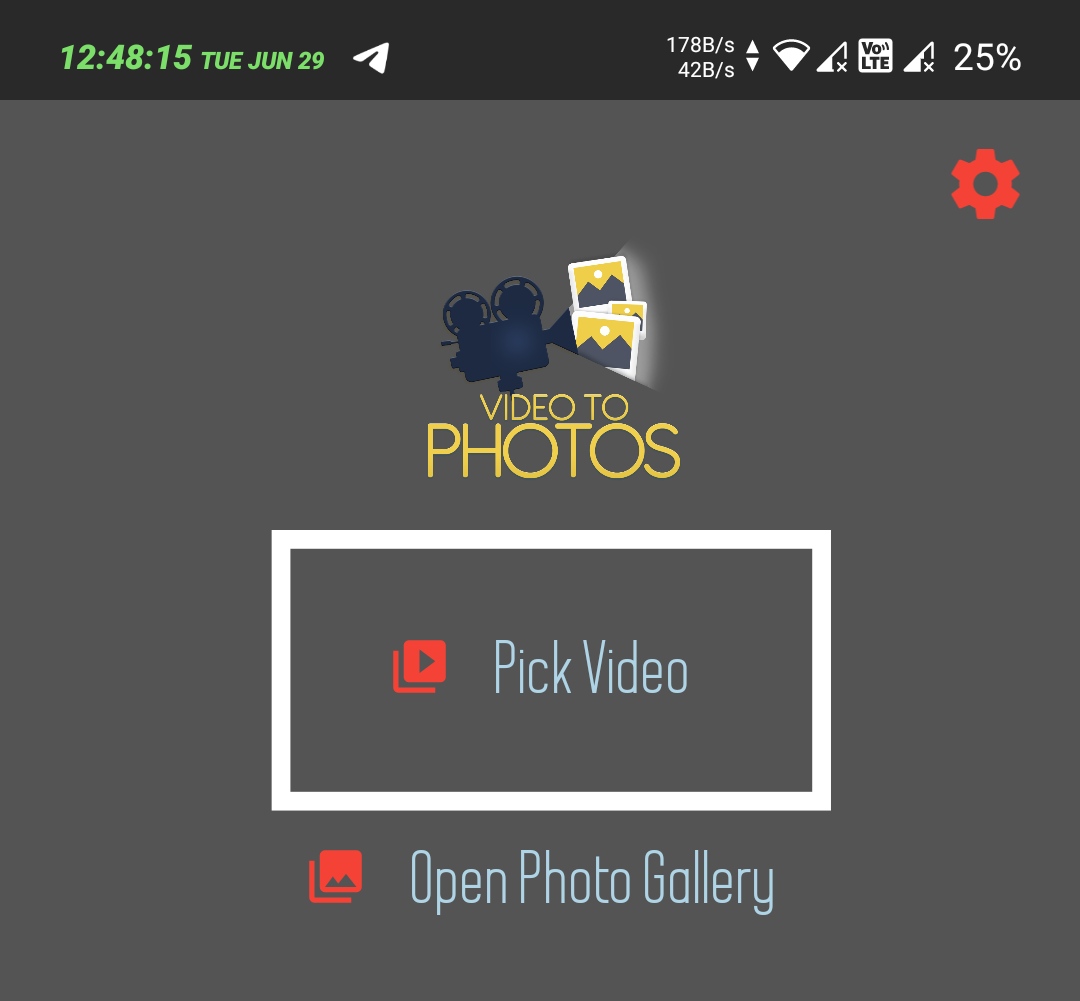
- Videos To Photos Open this app and go to the app settings at the very beginning. Go there and turn on the settings like the screenshot below. Note that the pic is in PNG format and the sequence is on, i.e. 1,2,3 is extracted in the serial in this way. With this software you can convert your video to image. How many images a 5 second video will convert depends on its frame rate. First check the FPS of the video or animation you have selected. If you go to the details, you can see how much, most of the time it can be like this 24/30. Select the same amount of FPS at the time of extracting the frame of your video. If you do less, the animation will be a little faster and if you do a little more, the animation will be slower. So it is better to select the same or less.

This time, extract the template file given to you through this option. System–> Product–> Media–> Bootanimation.zip Go to this place and extract the Bootanimation file. Inside you will find 3 more files.
Part 1, Part 2, desc.txt Now extract the original game from your first video, copy and paste the pictures in this folder Part 1 and paste the pictures of video 2 in folder 2. You can edit this file as desc.txt or keep it as it is. Let me tell you if you want to know how it works. At the top of the text is written 1080 2400 30 Here 1080 and 2400 is the resolution of your phone. Edit it from Google if there is no match and the next 30 is FPS, that is, how many frames the video will play per second, you can edit these if you want. The bottom line reads C 1 0 part 1
Part 1, Part 2, desc.txt Now extract the original game from your first video, copy and paste the pictures in this folder Part 1 and paste the pictures of video 2 in folder 2. You can edit this file as desc.txt or keep it as it is. Let me tell you if you want to know how it works. At the top of the text is written 1080 2400 30 Here 1080 and 2400 is the resolution of your phone. Edit it from Google if there is no match and the next 30 is FPS, that is, how many frames the video will play per second, you can edit these if you want. The bottom line reads C 1 0 part 1
Labels: Android Tips

0 Comments:
Post a Comment
Subscribe to Post Comments [Atom]
<< Home